Step 2 - Render the reflection
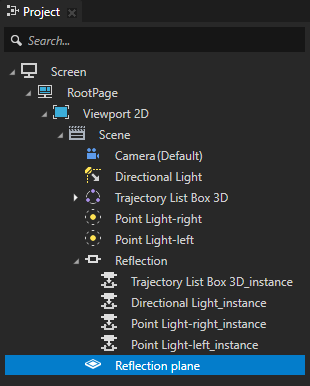
In the Library > Rendering > Render Passes use render passes to set the rendering in your project. For example, by setting in a Draw Objects Render Pass the Object Source property you set which nodes you want to render. By default the Object Source property of a Draw Objects Render Pass is Root Object Source, which passes for rendering all nodes in the project to the render pass.
To create reflections you need two Draw Objects Render Pass render passes, one rendering the origin nodes and the other rendering the reflections of the origin nodes represented by the Instantiator nodes you created in the previous step.
In the previous step you tagged the nodes in your project. In this step you first create two tag filters: one to collect all origin objects (tagged Origin), the other to collect all Instantiator nodes you use for reflections (tagged Reflection). Then you create the render passes to render all origin objects and all reflections.
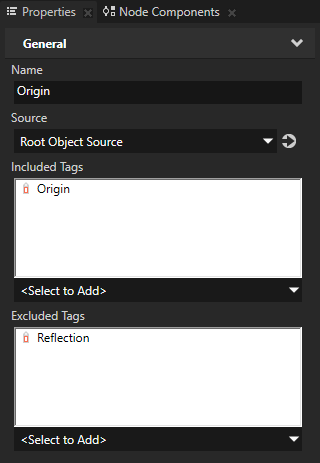
- In the Library > Rendering press Alt and right-click Object Sources, select Tag Filter, name it Origin and in the Properties set:
- Included Tags to Origin
- Excluded Tags to Reflection
This is the filter that collects the nodes for which you are creating a reflection.


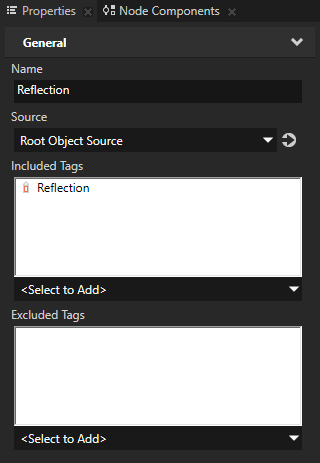
- In the Library > Rendering > Object Sources create another Tag Filter, name it Reflection, and in the Properties set the Included Tags property to Reflection.
This is the filter that collects the Instantiator nodes that make a reflection.

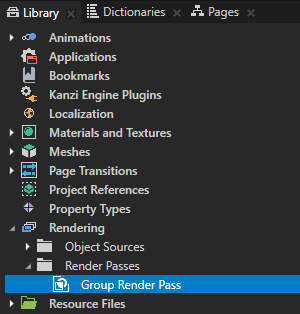
- In the Library press Alt and right-click Rendering and select Group Render Pass.
Group Render Pass allows you to collect render passes so that you can refer to a single render pass in your Scene or Viewport 2D node.
Here and in the following steps you create the render passes that render the origin node and their reflections.
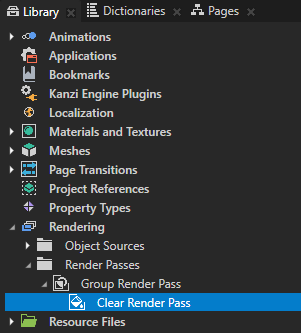
- In the Library > Rendering > Render Passes > Group Render Pass create a Clear Render Pass.
- Create the render passes that render the reflection:
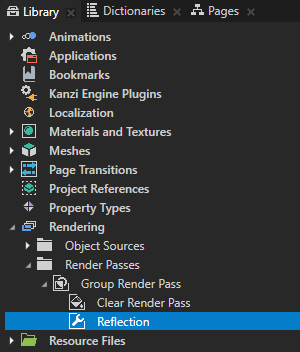
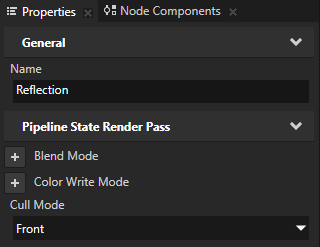
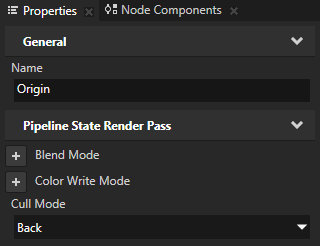
- In the Library > Rendering > Render Passes > Group Render Pass create a Pipeline State Render Pass, name it Reflection, and in the Properties set Cull Mode to Front.
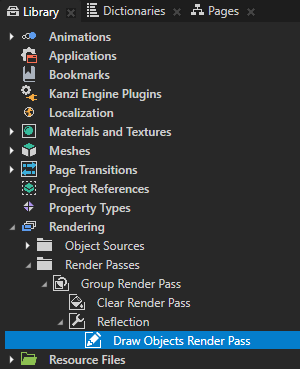
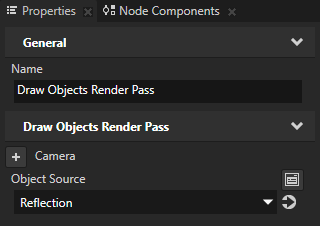
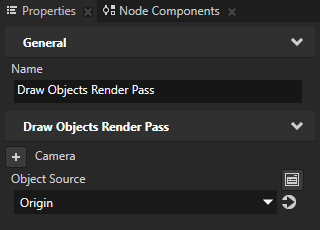
- In the Library in the Reflection render pass create a Draw Objects Render Pass, and in the Properties set Object Source to the Reflection tag filter, which collects the Instantiator nodes that represent the reflections.
- Repeat the previous step but now create the Pipeline State Render Pass and Draw Objects Render Pass you need to render the origin nodes:
- In the Origin render pass set Cull Mode to Back.
- In the Draw Objects Render Pass set Object Source to the Origin tag filter, which collects the nodes from which the reflections are made.

Always place the render passes that render the origin nodes below the render passes that render their reflections.

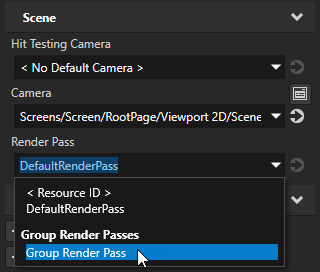
- In the Project select the Scene node and in the Properties set the Render Pass property to the Group Render Pass you created earlier in this procedure.
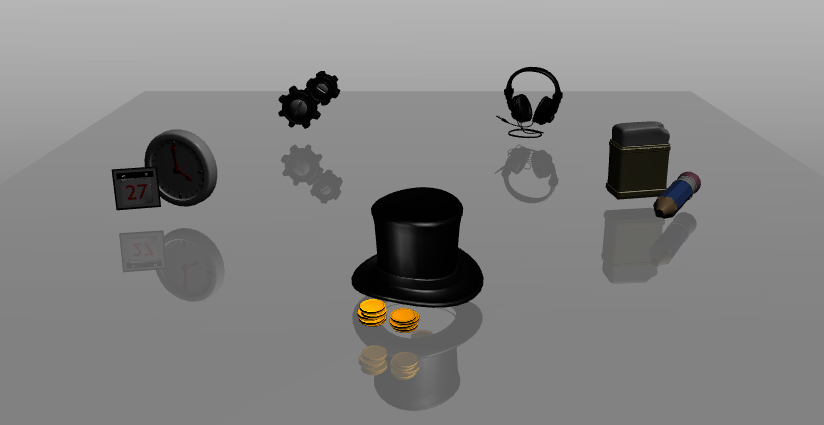
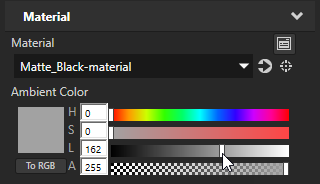
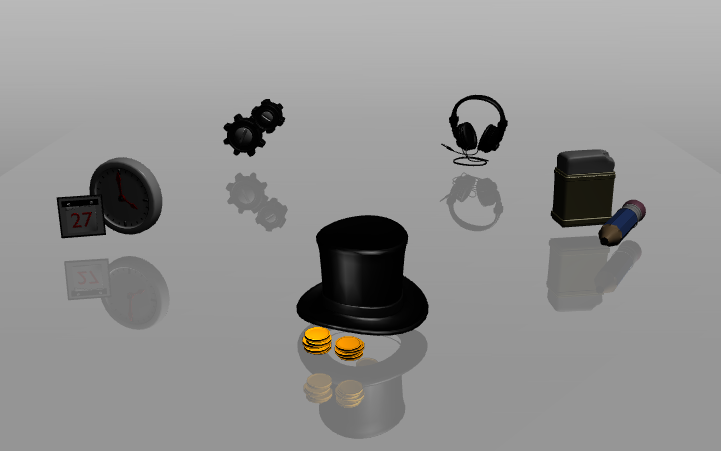
- (Optional) In the Project select the Reflection plane node, and in the Properties adjust the Ambient Color and Blend Intensity properties until you get the reflection plane you want.
For example, to make the reflection plane blend with the background, adjust the Ambient Color property.
< PREVIOUS STEP
What's next?
In this tutorial you learned how to create reflections in Kanzi Studio. Now you can:
See also
To learn more about creating Kanzi applications, see Tutorials.
To find out more about Kanzi Studio features, see Working with ....
To find out more about how to use tag filters, see Using the Tag Filter.
To find out more about filters, see Filters.
To learn more about the render passes in Kanzi, see Rendering.

Open topic with navigation